So, you’ve decided to embark on the electrifying journey of installing commercial lighting fixtures. Whether you’re illuminating an office, a retail space, or a warehouse, this guide is here to shine a light on your path. Let’s make this process as bright and breezy as a sunny day, ensuring you avoid any shocking surprises.
Why Proper Installation Matters
Safety First
Let’s get serious for a moment. Improperly installed lighting can be a real hazard. We’re talking electrical fires, shocks, and the kind of trouble that makes your hair stand on end—literally. Proper installation ensures your lights are safe, secure, and shining bright without any risk of turning your space into a disco inferno.
Aesthetic Appeal
Nobody wants their lighting to look like it was installed by a gang of over-caffeinated squirrels. Proper installation means your fixtures will be straight, evenly spaced, and perfectly aligned. It’s all about that professional finish that makes your space look like a million bucks, even if you only spent a few hundred.
Planning Your Lighting Project
Assessing Your Lighting Needs
First things first, what are you lighting up? An office needs different lighting than a factory, and a boutique has different needs than a gym. Think about the purpose of your space and how the lighting can enhance it. Do you need bright, white lights for precision tasks, or something softer and warmer for a cozy ambiance?
Creating a Lighting Plan
Measuring and Mapping
Grab a tape measure and start mapping out your space. Measure the dimensions and note where you’ll need fixtures. Sketch a rough layout. This will help you determine how many fixtures you need and where to place them for optimal illumination.
Selecting the Right Fixtures
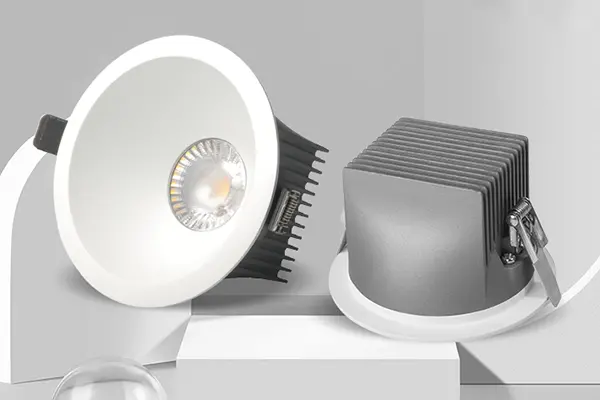
From LED panels to pendant lights, the options are endless. Choose fixtures that suit your needs and your style. LEDs are energy-efficient and long-lasting, making them a smart choice for most commercial spaces. Don’t forget to check the lumens and color temperature to ensure they meet your requirements.
Budgeting for Your Project
Let’s talk money. Set a budget that covers all your needs without breaking the bank. Factor in the cost of fixtures, installation materials, and, if needed, professional help. Remember, sometimes spending a bit more upfront can save you in the long run with energy-efficient options.
Tools and Materials You’ll Need
Essential Tools
Before you start, gather your tools. You’ll need:
- Screwdrivers (both flathead and Phillips)
- Wire strippers
- Voltage tester
- Power drill
- Pliers
- Ladder
Necessary Materials
Stock up on:
- Lighting fixtures
- Screws and anchors
- Electrical tape
- Wire nuts
- Electrical box covers
Preparing for Installation
Safety Precautions
Safety goggles on? Check. Gloves? Check. Ready to avoid any potential trips to the ER? Absolutely. Always follow safety protocols, and if you’re unsure about anything, consult a professional. It’s better to ask a dumb question than to make a dumb mistake.
Preparing the Space
Clear the area where you’ll be working. Remove any obstacles and ensure there’s adequate lighting to see what you’re doing (ironic, right?). Make sure your ladder is stable and your tools are within reach.
Step-by-Step Installation Guide
Turning Off Power
Rule number one: Don’t get zapped. Turn off the power at the breaker box before you start. Use a voltage tester to double-check that the power is off. Trust me, you don’t want to find out the hard way that you missed a live wire.
Mounting the Fixtures
Ceiling Fixtures
Start by mounting the ceiling fixtures. Attach the mounting bracket to the electrical box, making sure it’s secure. Then, connect the fixture to the bracket. Ensure it’s snug and level before moving on.
Wall Fixtures
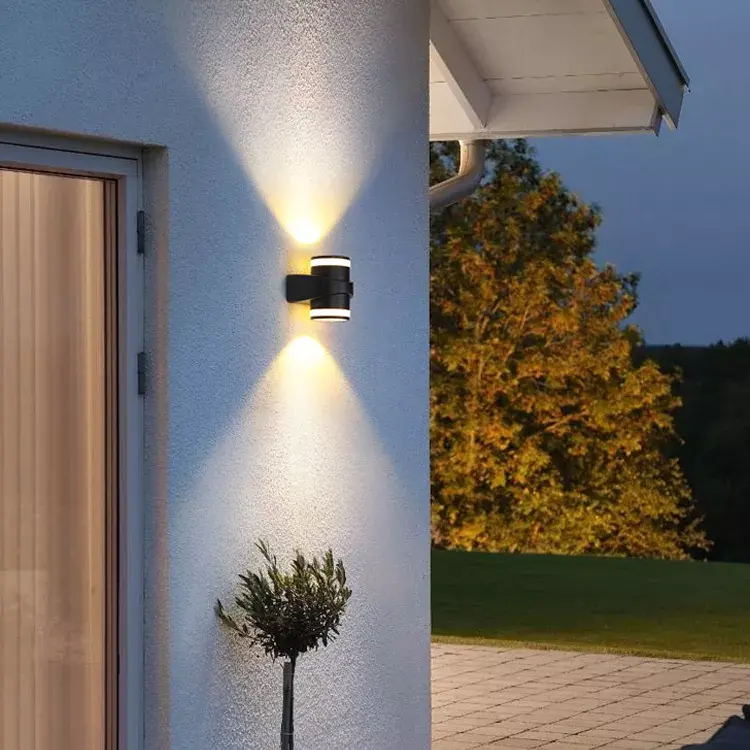
For wall fixtures, it’s a similar process. Secure the mounting bracket to the wall, connect the fixture, and make sure it’s level. Use a level tool to avoid that awkward, slanted look.
Wiring the Fixtures
Connecting Wires
Now, the fun part: wiring. Connect the wires from the fixture to the wires in the electrical box. Usually, this means matching colors: black to black, white to white, and green or bare copper to the ground wire.
Securing Connections
Twist the wires together using wire nuts, then wrap them with electrical tape for extra security. Push the wires back into the electrical box carefully, ensuring nothing is pinched or crimped.
Testing and Troubleshooting
Turn the power back on and test your lights. If they don’t turn on, don’t panic. Double-check your connections and make sure everything is secure. If there’s still no light, it might be time to call in a professional.
Post-Installation Tips
Regular Maintenance
Keep your lights in tip-top shape with regular maintenance. Dust the fixtures and clean the covers to ensure they shine as brightly as possible. Replace any burned-out bulbs promptly.
Energy Efficiency
Consider upgrading to energy-efficient bulbs if you haven’t already. LEDs use less energy and last longer, saving you money in the long run. Plus, they’re better for the environment. Win-win!
Installing commercial lighting fixtures isn’t rocket science, but it does require a bit of planning, the right tools, and a healthy respect for electricity. By following these steps, you’ll have your space lit up like a pro, safely and efficiently. So go ahead, flip that switch and bask in the glow of your newly installed lights. You’ve earned it!
FAQs
1. Can I install commercial lighting fixtures myself, or do I need a professional?
You can install them yourself if you’re comfortable with basic electrical work and follow safety precautions. However, for complex installations or if you’re unsure, it’s wise to hire a professional.
2. How do I choose the right type of lighting fixture for my space?
Consider the purpose of the space and the lighting needs. For task-oriented areas, choose bright, focused lighting. For ambient lighting, softer, diffused options work well. Don’t forget to factor in energy efficiency and aesthetics.
3. What’s the best way to ensure my lighting is energy efficient?
Use LED fixtures, which are more energy-efficient and longer-lasting than traditional bulbs. Additionally, consider installing dimmers and sensors to reduce energy consumption when full lighting isn’t necessary.
4. How often should I maintain my commercial lighting fixtures?
Perform basic maintenance, such as dusting and cleaning, every few months. Check for and replace any burned-out bulbs promptly. Full inspections by a professional should be done annually.
5. What are some common mistakes to avoid when installing commercial lighting?
Common mistakes include not turning off the power, improper wiring connections, using the wrong type of fixtures, and failing to secure fixtures properly. Always double-check your work and don’t rush the process.


